Dashboard: Profile
The Profile page lets each logged-in user manage their own account settings and view their personal notification inbox. Access it by clicking your email address in the sidebar (bottom-left of the screen).
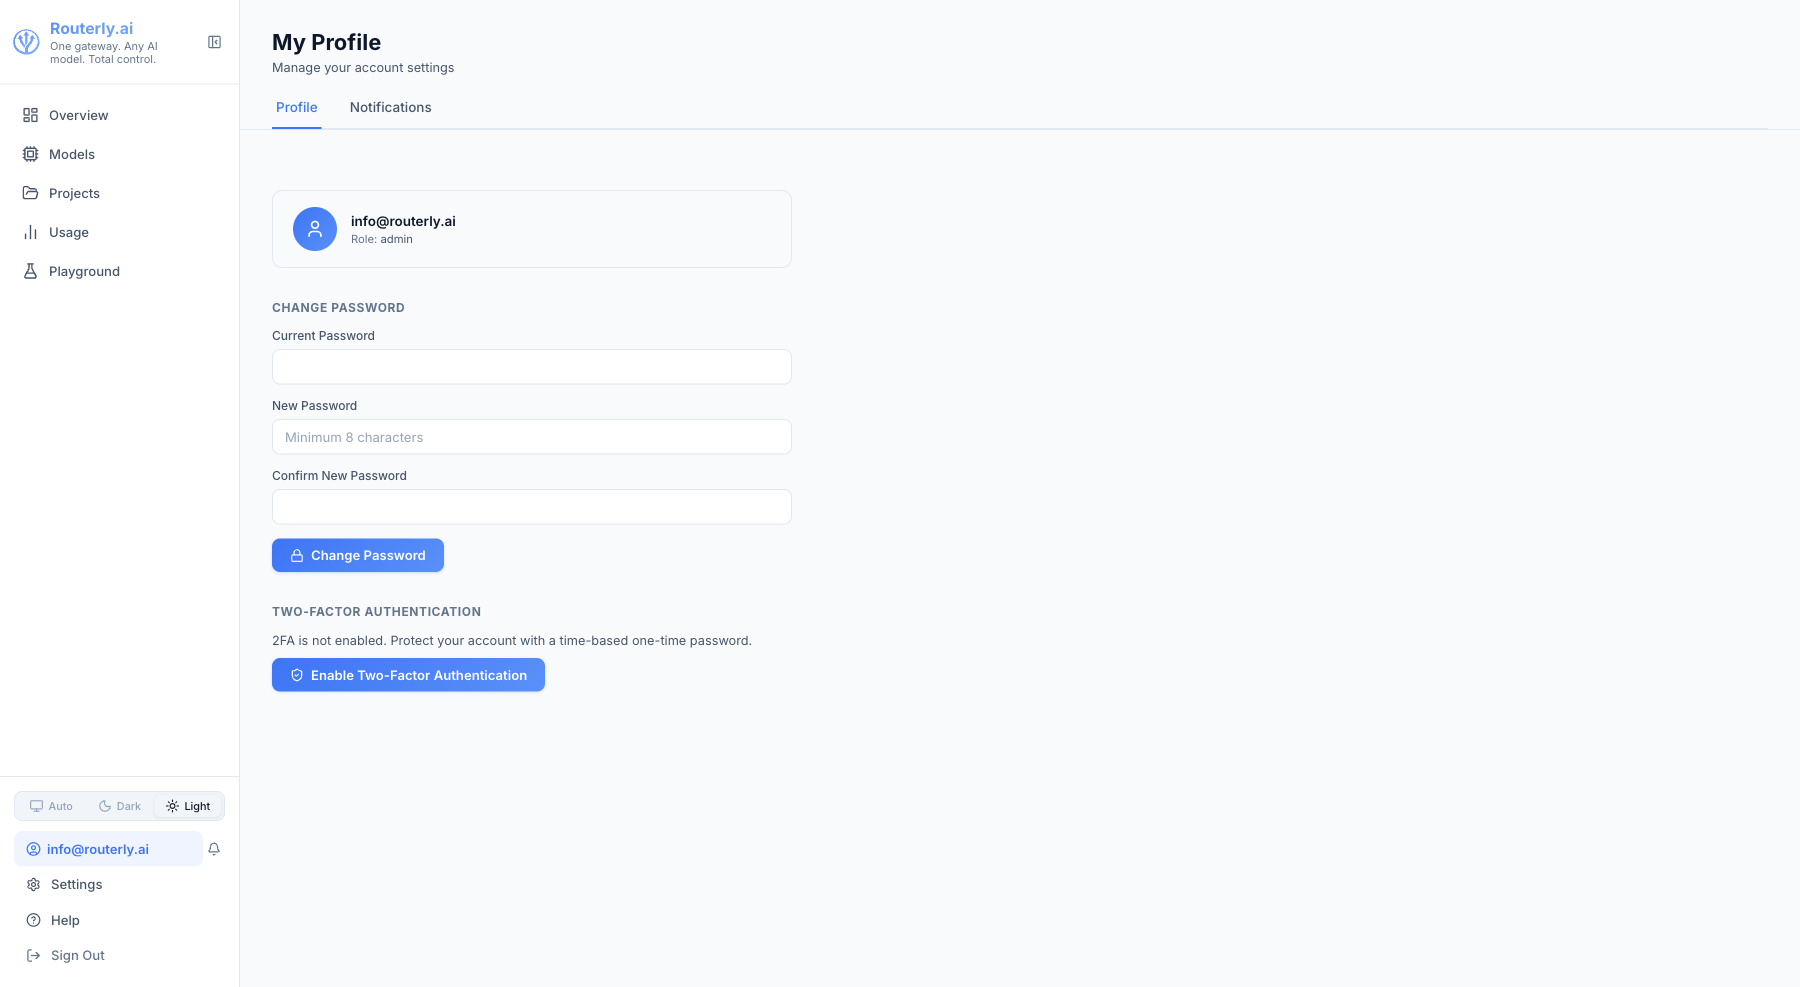
Profile Tab
Changing Your Password
- Enter your Current Password
- Enter your New Password (minimum 8 characters)
- Re-enter the new password in Confirm New Password
- Click Change Password
Routerly hashes passwords with bcrypt. Your current session remains active after a password change.
Two-Factor Authentication
Enable TOTP-based 2FA under the Two-Factor Authentication section.
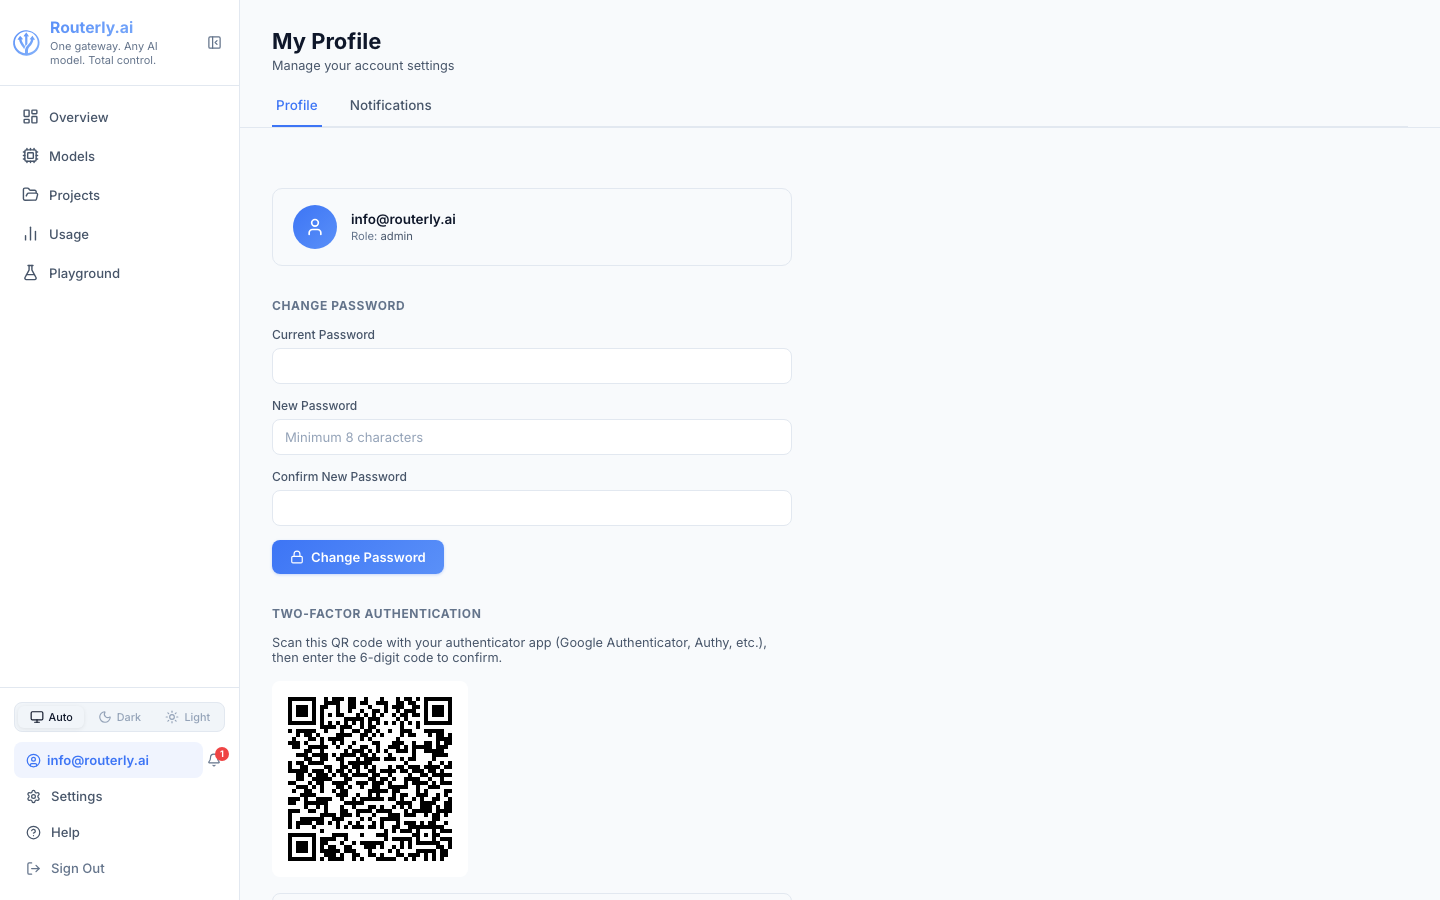
When you click Enable Two-Factor Authentication, the setup panel renders a scannable QR code image generated directly from the otpauth:// URI. Open any TOTP authenticator app (Google Authenticator, Authy, 1Password, etc.) and scan the QR code. If your app does not support camera scanning, the underlying setup key (base32 secret) is still shown below the image so you can enter it manually.
Enter the 6-digit code from your authenticator app to confirm setup. Once enabled, you will be prompted for a TOTP code on every login.
Account Information
The profile card shows your email address and your role.
Notifications Tab
The Notifications tab is your personal in-app notification inbox.
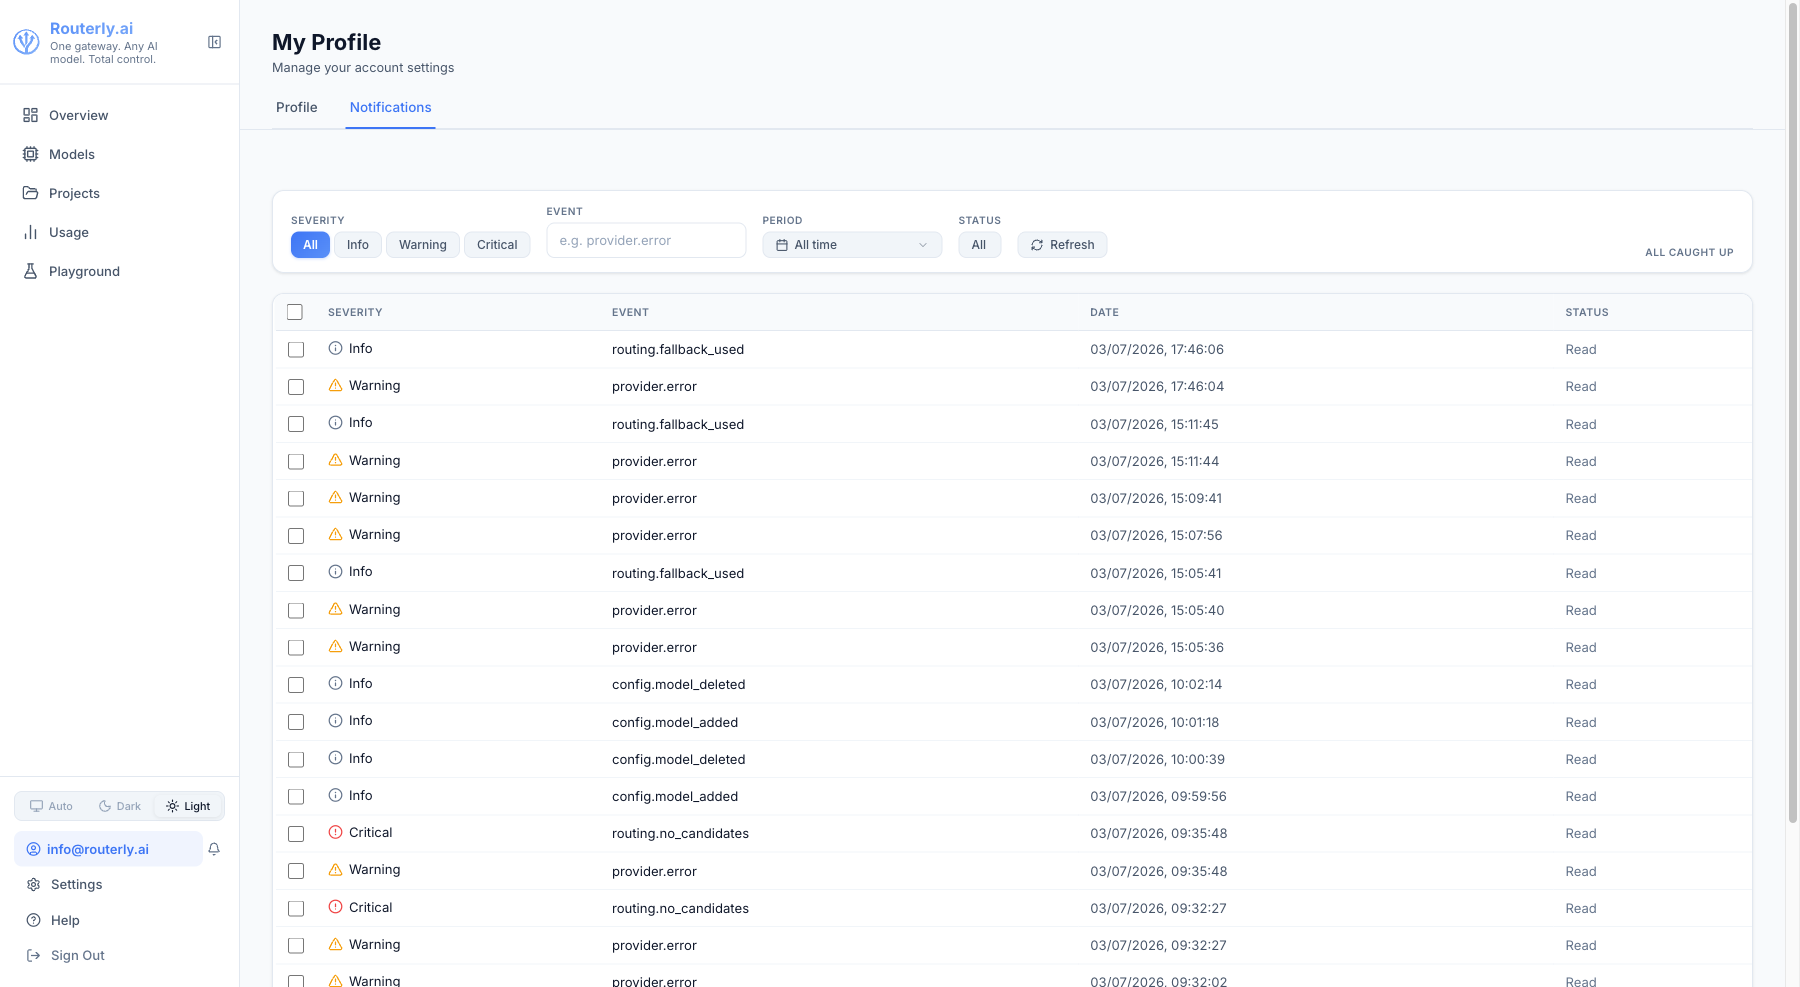
It shows all notification events routed to you via any dashboard channel that includes you in its targets (or all events when no targeting is configured). Items are listed newest-first and include the event type, severity icon, and age.
Filtering the Inbox
The inbox supports several filters to help you find relevant notifications:
- Severity -
All,Info,Warning, orCritical - Event - text search on event name (case-insensitive)
- Date range - pick a start and end date; date-only values span the full day
Filters work in combination: applying multiple filters shows only items matching all of them.
Table and Row Selection
Each row shows the event type, severity color-coded, timestamp, and a brief detail summary. Click a row to open the notification detail drawer (see below).
Use the checkbox column to select multiple notifications. A bulk action bar appears when one or more items are selected, with options to:
- Mark as Read - marks selected items as read
- Mark as Unread - marks selected items as unread
- Delete - dismisses selected items from your inbox
Notification Detail Drawer
Click on a notification row to open a detail drawer showing:
- Full Event ID
- Event type and Severity
- Timestamp (ISO 8601 with full precision)
- Status - read or unread with a toggle button
- Complete Details object (JSON formatted)
- Delete button to dismiss this item
Press Esc to close the drawer without saving changes.
The drawer's read/unread toggle is synced immediately to the server - you don't need to manually save.
Unread Badge
The notification bell icon next to your email address in the sidebar shows an unread count badge when new items arrive. Click the bell icon to open a quick-view popup showing the latest few notifications. Navigate to the Notifications tab here for the full inbox.
Marking as Read
Items are marked as read when you click them in the detail drawer. Use the bulk action bar to mark multiple items at once, or use the API endpoint POST /api/notifications/inbox/read with { "all": true } to mark all as read programmatically. CLI: routerly notification read.
Dismissing Notifications
Use the Delete button in the detail drawer or the bulk action bar Delete option (API: POST /api/notifications/inbox/delete, CLI: routerly notification delete). Dismissal is per-user only - other users' copies of the same notification remain in their inboxes unless they also dismiss it. There is no global delete: an item dismissed by one user is never removed from anyone else's inbox.
Navigation
Access the Profile page from the sidebar: click your email address (bottom-left of the sidebar, above Settings).